Eos Raytracer
Lately I’ve been considering taking on a new side-project and before doing so I figured I should write up some words on Eos, my software-only realtime raytracer.
Download a Copy
For this project I used Microsoft Visual C++ 2010 Express and SDL 1.2.15 (included). You can download the source or, if you just want to try it out, a demo.
About the Project
I started this project in January 2013 as a sort of new year’s resolution. It was kind of popular that year to set creative work goals instead of self improvement goals. I decided that by the end of the year I wanted to write a game using a realtime raytracer. I never did get around to making the game, but here were my critera for the raytracer itself:
- Playable framerates (15-30fps)
- Platform independent
- Divorce raytracer from renderer (so that the renderer could be swapped out)
- Use C only (so that the tracer could be used in either C or C++)
The tracer itself is a straightforward implementation of a bounded kd tree.
Where did the name come from?
Eos is the classical Greek goddess of the dawn. It seemed like a pretty appropriate name when tracing rays of light.
Does it really run in realtime?
Sure, here’s an early build recorded off the screen. It’s not 60 fps realtime, but it’s realtime.
And here’s a more recent demo using screen capture software. The video annotations tell you what features I’m demonstrating as I go.
Major caveat: these are running on an Intel Core-i7 3.6GHz. Your mileage may vary.
What’s a bounded kd tree?
A kd tree (or KDTree or kd-Tree) is a simple tree structure that defines some boundary and then groups everything as being either above or below that boundary. For a triangle-based raytracer, this gives us the ability to sort our poygons in 3D space.
It turns out that figuring out if a ray will go through an axis-aligned box is incredibly easy, so we build a bounding box around our triangles, then start dividing up the space inside the box using the tree (always dividing along one of the 3 cardinal planes so that we end up with 2 axis-aligned boxes after the split).
When a ray is traced through the bounding box we go to the root node of the tree and check its children. We figure out which of the two the ray will pass through and in what order and then we recurse down the tree in that order. Eventually we will reach a node that has triangles.
What’s critical to understand is that we’re checking tree nodes in the order that the ray will pass through them. Pretend the ray passes through node A before node B – that means we’ll check node A before we check node B. If we hit a triangle in node A, then there’s no need to bother checking node B, since we know that everything in node B is behind node A – and that’s where the speed comes from.
The question is what you should do when you go to split the space but there’s a triangle crossing the mid point? A bounded kd tree stores a little bit of extra information to account for the overlap.
Take the example above – if you hit a triangle in node A but you hit it inside the overlap area, you still have to check node B.
Why separate the raytracer from the renderer?
There are two main upsides. (1) You can rewrite the renderer to do whatever you want it to do without worrying about damaging the raytracer. (2) You can use the raytracer for other things (like collision detection).
Conceivably you could write a renderer that doesn’t use planar projection (like a fisheye or panoramic renderer). You could write an intense offline renderer that builds a full global illumination solution. You could even write a renderer that outputs light values to a pre-baked lightmap.
Meanwhile you could use the raytracer without a renderer when doing collision detection or hit detection.
It also helps further my goal of making the raytracer completely platform independent. Multithreading (an OS-dependent operation) is handled at the renderer level.
Is there any thing special about Eos?
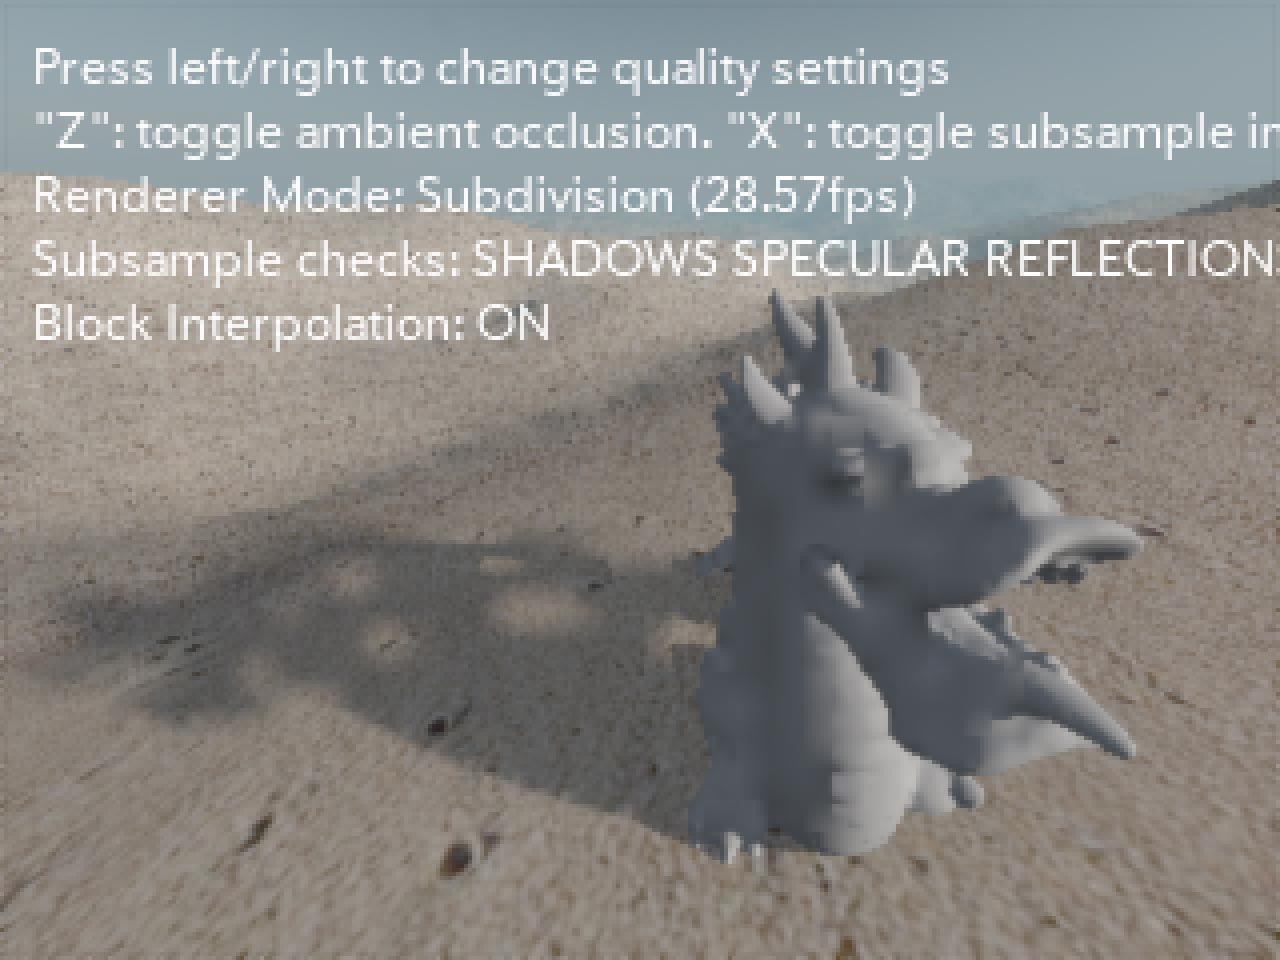
As far as I can tell, Eos’ default renderer is the only one to combine polygon rendering with demoscene-styled sub-sampling.
Super-sampling is when you antialias a scene by sampling many rays per pixel. Sub-sampling is when you trace far fewer rays than pixels and then use interpolation to fill in the un-traced pixels.
My renderer can break the scene up into a collection of 8×8 macro blocks. It traces the ray in the top left corner of each of these blocks and then checks to see if it should divide the 8×8 block into 4 4×4 blocks. Then each of those into 4 2×2 blocks. Then finally, if it should trace the remaining 3 rays in the 2×2 block.

Left: a scene rendered with sub-sampling. Right: the same scene, but showing only the rays that were traced (the rest were interpolated).
It’ll trace additional rays if the four corners:
- Hit different objects
- Hit different texture groups (these are user-defined “groups” that can be used to eliminate artifacts where the texture coordinates are not continuous)
- Have different lighting (this check can be disabled, and tweaked for sensitivity)
- Have different reflection colors (this check can be disable, and tweaked for sensitivity)
It does introduce some nasty visual artifacts, though. Very thin or small objects can be missed entirely if they aren’t hit in the initial pass, as can some shadow detail. It can also be time consuming to tweak shadow and reflection sensitivity to balance good results with the cost of tracing additional rays.
Are there any limitations?
The subdivision renderer breaks the scene into 8×8 blocks, and then splits the screen into 20 vertical strips for mutli-threading. This means your screen width must be a multiple of 160 and your screen height must be a multiple of 8.
The rendering is fill-rate dependent for the most part (reflections are much more costly than simple shadow traces, and translucency ends up tracing several extra rays). If you use the renderer you’ll have to account for a highly variable framerate.
The internal resolution is decoupled from the screen resolution – so you can render at whatever size you choose and then stretch that to fill the screen you have. Unfortunately I used a really slow high-quality scaler for convenience sake. If you actually do use this code to make a game, I’d swap that out for a simple fast nearest-neighbor scaler.
Does it always have to look so glitchy?
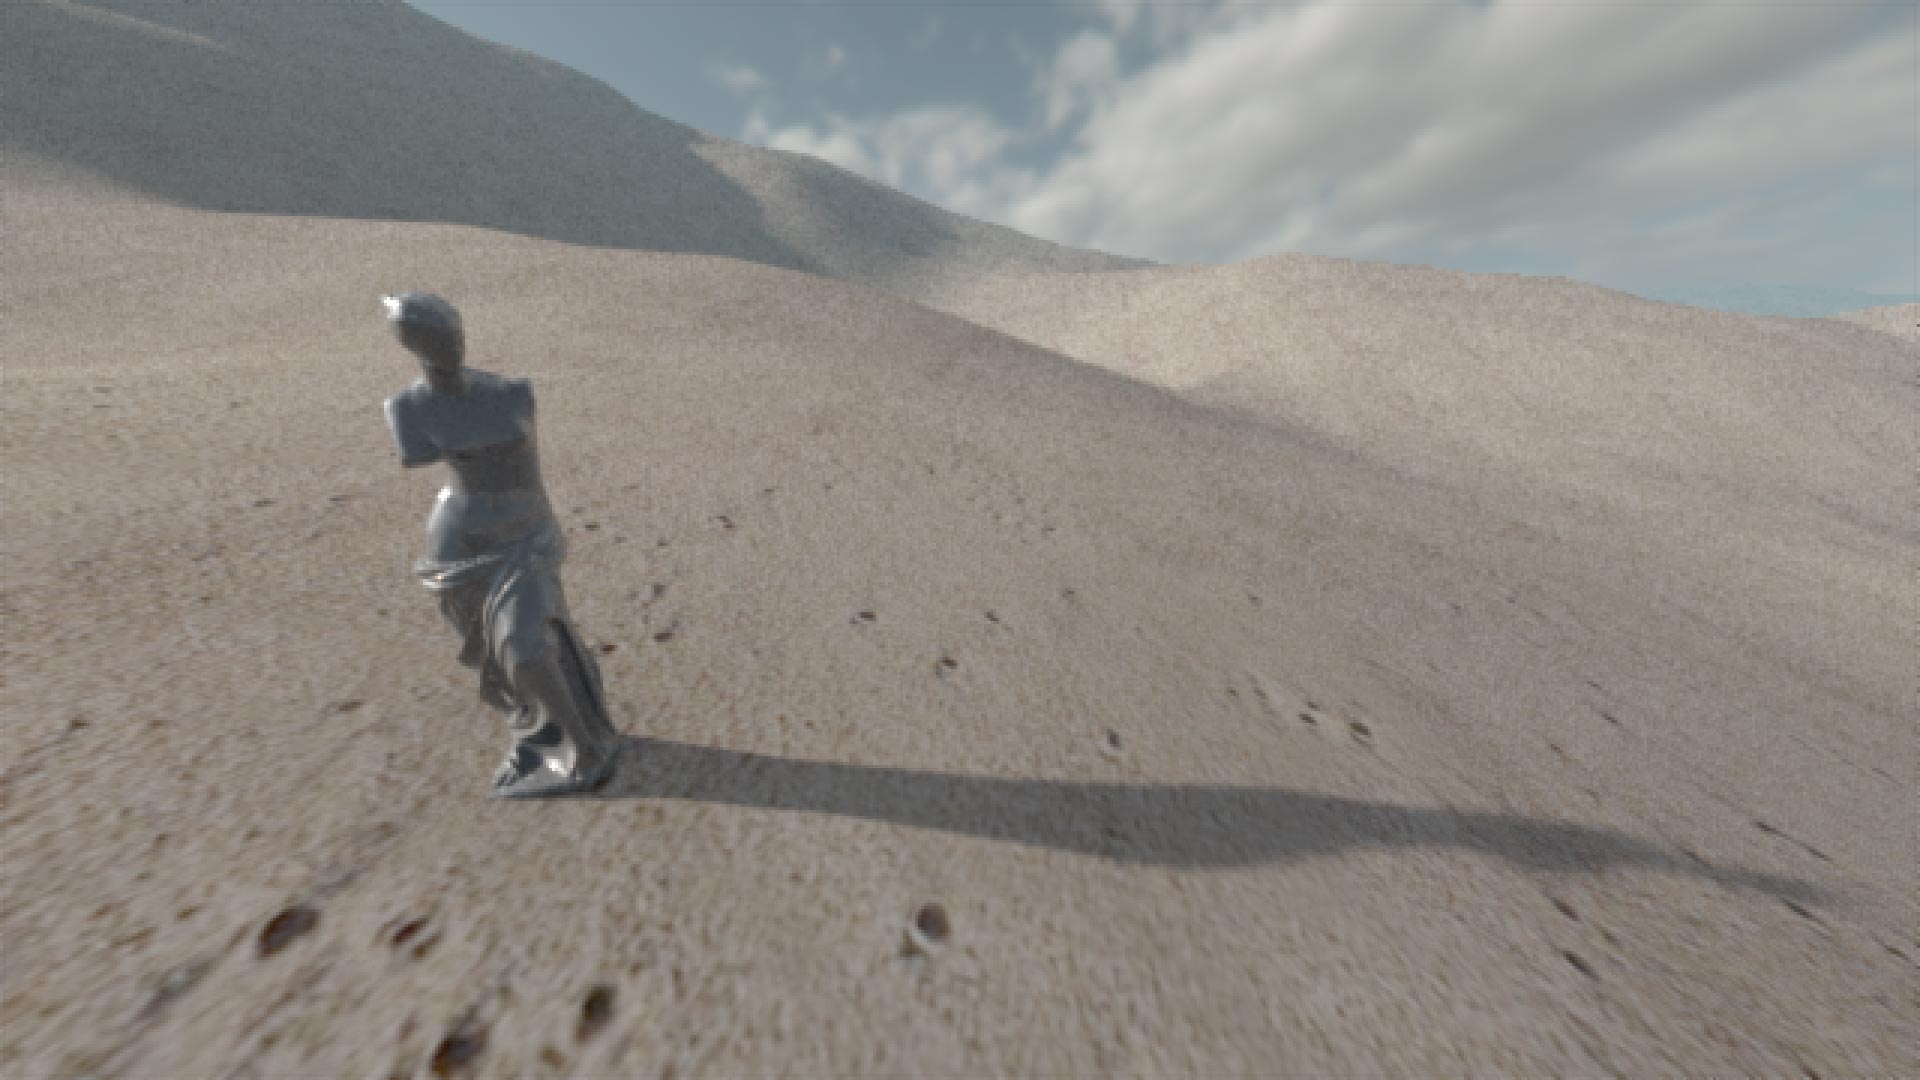
The renderer does include options for adaptive super-sampling anti-aliasing and can run at high resolutions. There’s also a (somewhat costly) ambient occlusion calculation that can be toggled on and off. The following image rendered in about 25 seconds:
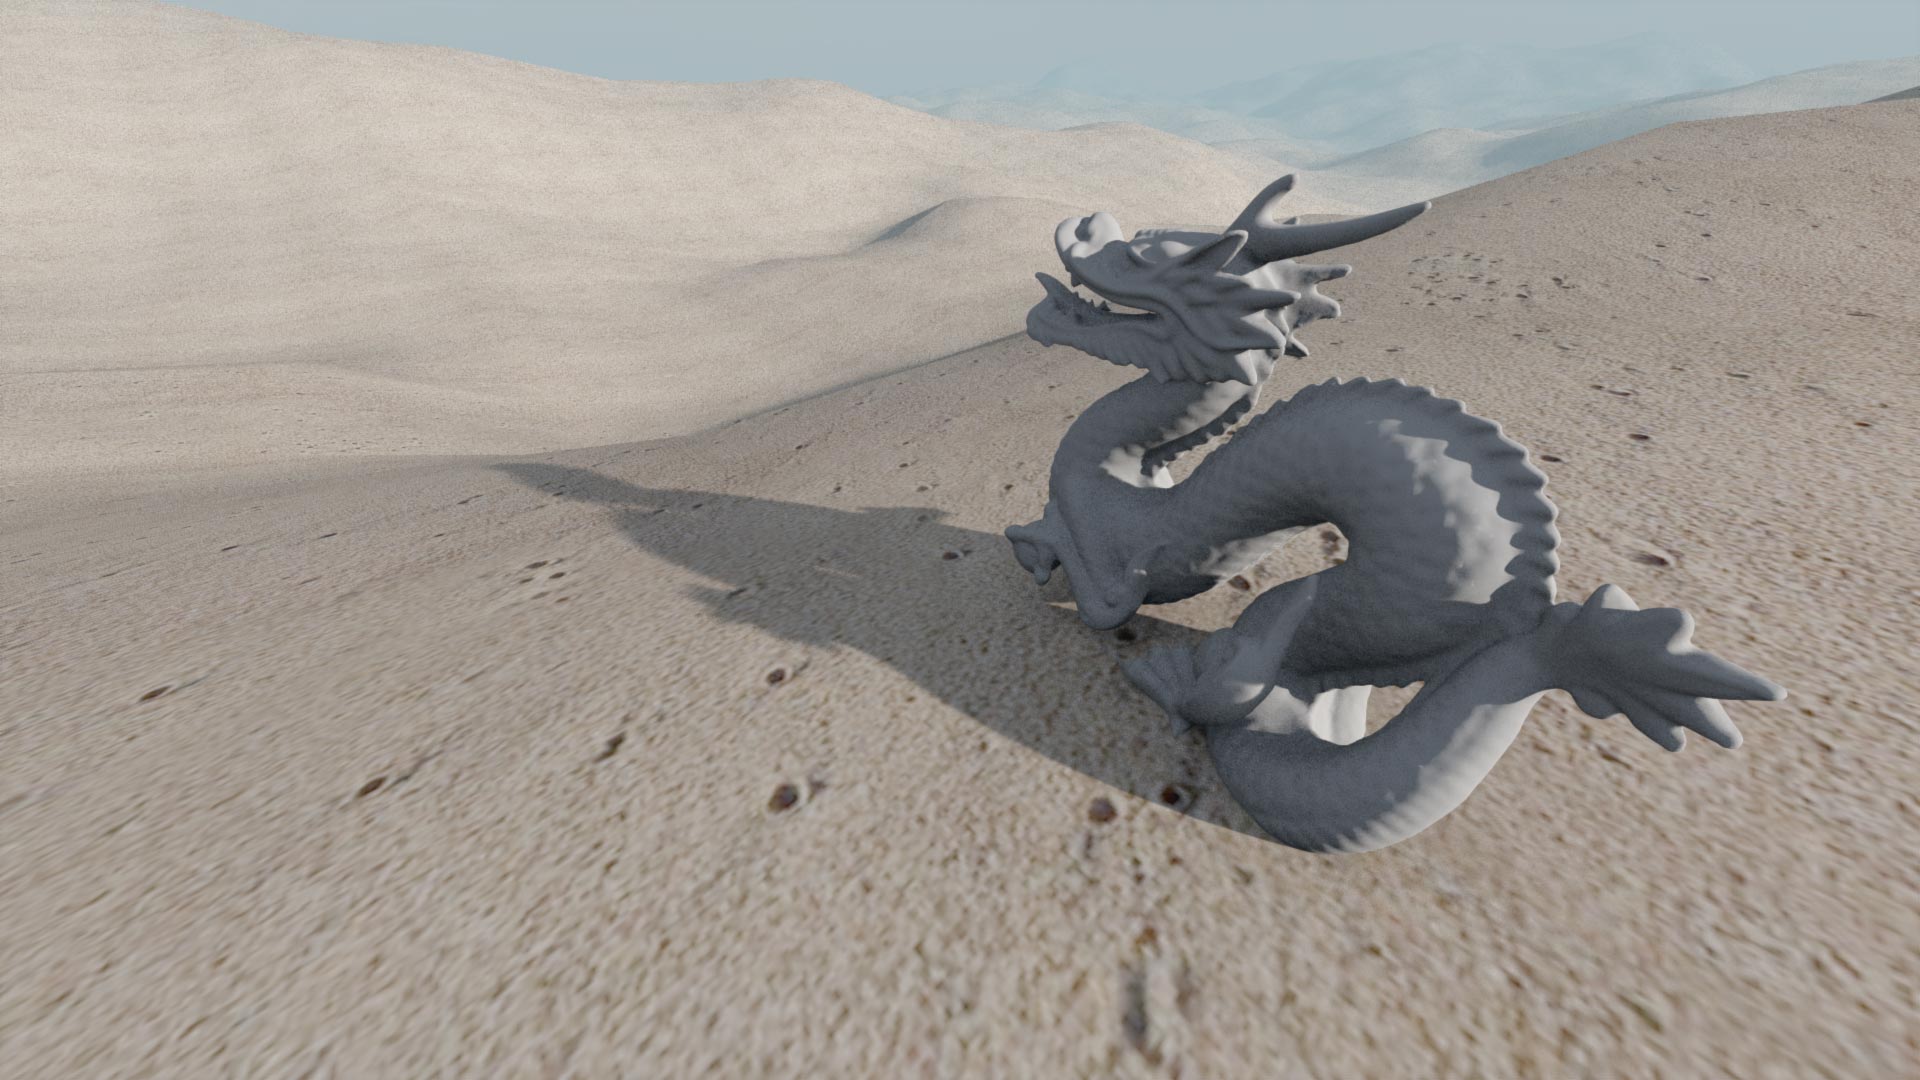
This is the same software with the same data running with sub-sampling and without ambient occlusion:
The renderer can do high quality (and you can of course always extend the renderer to do even higher quality) – but quality comes with a trade-off for speed.
If I wanted to use it, how do I do that?
Download the source code and Visual C++ 2010 Express (it’s free) and start with modifying the scene it renders. The basic setup is pretty easy to work with.
- Create Models
- Create Polygons & Polygon Renderer Data
- Create Materials
- Create Tree
- Create Lights
- Create an Environment Map (optional)
- Create a Camera
- Create a Scene
- per frame: clear the scene, place models, lights, and environment map in the scene
- Create a framebuffer
- Call renderer w/ scene, camera, and framebuffer
One note: building the kd tree can be expensive, so only do it every frame for dynamic geometry. With static geometry you should only have to build the kd tree after loading/generating.
What would you have done differently?
Ideally I would’ve liked to have been better-versed in SDL before starting the project. I kind of bumbled my way through that part of it and I still don’t know quite how I should be stretching my screen to fit the window without killing performance.
I should’ve had a greater appreciation for the speed of my computer. I built this on a Core-i7 3.6 GHz without realizing how much faster that was than a run-of-the-mill Core-i3 or Core-i5 laptop. I should’ve targeted more mainstream hardware.
I should’ve given the renderer a depth buffer to output. A depth buffer would’ve been very helpful for post-process effects that games use a lot, like particle effects and depth-of-field. (Raytracing physically-correct DoF means tracing something like 50-100x more rays per frame and it more or less completely out of the question for a realtime tracer.)
I would’ve liked to have gotten normal mapping implemented and put some water in my test scene.
It would’ve been nice to have the option to use baked lighting or ambient occlusion maps. It’s less accurate but would’ve sped up rendering for static geometry.
Most importantly, though, I wish I’d started out with a game in mind. Once the engine was up and running, I hit a mental block and couldn’t come up with anything I wanted to implement in it. I should’ve settled that before starting. I should’ve at least come up with a test suite of game-like environments because I’m sick of staring at these sandy hills.
What’s Next?
Recently the people I follow and talk to online have been waxing nostalgic for the mid-to-late 1990s. It makes sense – we’ve been through an 8-bit and a 16-bit retro revival, so now people are looking at the 32-bit systems for the next wave.
What I remember from that time was being in high school AP Computer Science class with two friends and trying to build 3D engines. Back then, we were wholly unprepared for the college-level math required to make it happen. I was rotating objects by converting their coordinates to polar coordinates and then back again because none of us had ever heard of transformation matrices.
I’d like to take another crack at that, so I plan to make 2 software rendering engines. The first will be a painter-algorithm affine textured engine (like the PlayStation), and the second will be a z-buffered, filtered textured engine (like the Nintendo 64).
I anticipate some problems along the way (like, for example, how to implement the N64 edge anti-aliasing algorithm) but I hope to be posting updates soon.
Note from the future: I never ended up making these engines. Maybe someday still - the PlayStation renderer would be pretty easy but the Nintendo 64 renderer is actually pretty tricky once you need to figure out ddx and ddy for mip mapping.